Introduction
You probably have been lost trying to find an email in Outlook, and ended up not finding it, right?
Well, you’re not alone… ![]()
This happens much more than you might think, especially if you get dozens of emails a day (like almost everyone who works with Telecommunications) and try to “organize” your email box by creating folders and subfolders. Unfortunately, this may end up leading to this problem – not being able to find a particular email.
But there is a very simple way to see all Outlook emails in one place – no matter what they are received or sent, or even that they are in “hidden” folders. ![]()
At this point, you might be wondering: but I can do this using the search folders…!
Yes, mas not the way you will learn today! Our tip is different (and quick), follow us.
Note: Sometimes Outlook not searching all emails is related to file corruption , especially the . pst file which is the program’s database file. To repair it, run the scanpst.exe file and follow the instructions therein. This file is found in the Microsoft Office installation file. But this is not the point here today.
Search Folder in Outlook
“Search Folder” in Outlook is a virtual folder that provides a view of all email items that match specific search criteria.
For example, the “Unread Messages” search folder allows you to view all unread messages, even if messages can be saved to different folders in your mailbox.
But in our case, we don’t want a specific filter (like “unread messages”). We want a filter of the type: “All” (or as in the SQL → “*”).
Follow what we’re going to do, and you’ll learn how to do it.
Custom Search Folder in Outlook
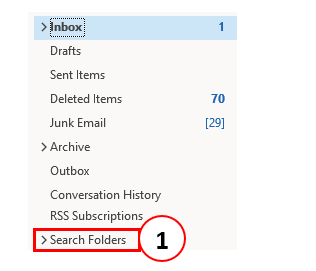
To create a folder that shows all emails, without any filter, first navigate to Search Folders (1).
Right-click and select “New Search Folder…” (1).

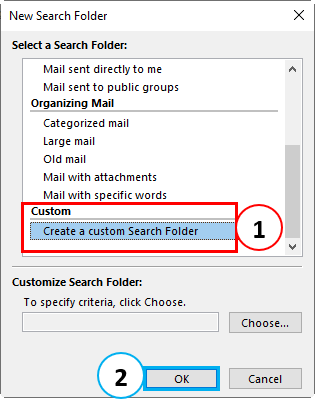
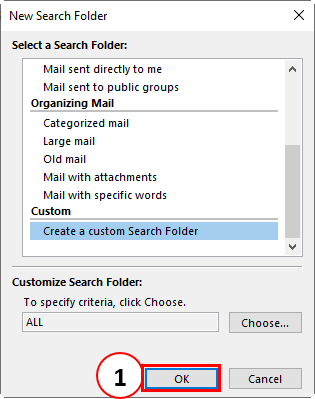
Under “Select a Search Folder”, select the option “Create a custom Search Folder” (1), and click the “OK” not (2).
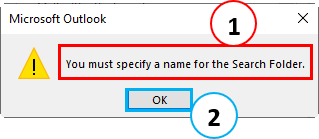
Outlook will “complain”, stating that you need to specify a name forthis Search Directory (1). Click “OK” (2).
Enter a name (1) for your search directory - for example we save as “ALL”. And now comes the real tip: let’s not choose any search criteria! Simply click the “OK” button (2).
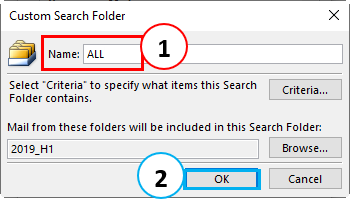
In the traditional way, you would click the “Criteria…” button and specify some criteria for your search.
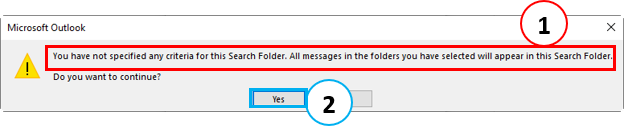
But since we left “blank” (we didn’t choose any criteria), Outlook will do exactly what we’d like: ![]()
"You have not specified any criteria for this Search Folder. All messages in the folders you have selected will appear in this Search Folder. Do you want to continue? " (1)
Then click the “Yes” button (2).
Then click “OK” again (1).
See that now our PST file “2019_H1” has, in addition to the default search folders, a folder called “ALL” (1).
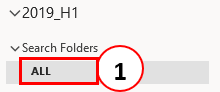
By clicking on this folder you will see ALL the files in that email box (where the special search folder was created)! ![]()
Conclusion
Today we saw a very quick tip on how to see ALL Outlook emails in one place, without any specific filter applied (read, unread, large, etc.)!
If you did like the tip, please LIKE (click on the heart), and if it’s useful to you, post a comment! ![]()
Until our next tip.