Introduction
From al the softwares that have emerged in recent times, with no doubt, Google Earth is a favorite of most people.
In fact, many people like quite a number of other Google services. This scenario has made it almost mandatory to use Google Earth, either as a User, in the analysis, or going one step further, creating applications with the same.
A little History
Google Earth is a program of geographic information, maps and all the earth by the superimposition of satellite data, aerial photographs and 3D GIS data.
Although the name leads us to think intuitively Google Earth was developed by Google, in fact this tool was bought from a company called Keyhole. It is easier to understand now why the kml and kmz extensions, isn’t?
Files of type kml (keyhole markup language) work more or less as an html file works on the Internet. He has the commands that instruct the Google Earth to plot the data properly. Already files of type kmz (zipped keyhole markup language) are basically zipped kml files. That’s right, you can even do a test: take a file with your extension kmz, and change the extension to zip. Then click the right and ask them to detach. Ready! You have your corresponding file with the extension kml.
Installation
The installation of Google Earth is quite trivial. Download the installer from the Internet, and proceed with the default installation.
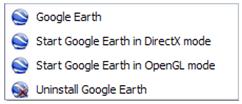
DirectX or OpenGL mode. What is this?
After installing Google Earth and start the program the first time, it will ask you which way to open, and to adjust this option as default. The mode options are DirectX and OpenGL.
Here there is not very secret, but it’s always good to know a little bit what this means.
The main difference (and perhaps only difference) is that when you open using openGL, Google Earth uses the memory that is dedicated to your graphics card, rather than system resources. That is, if you have an installed graphics card can handle the memory requirements of Google Earth, then open in openGL mode. Now if your video card uses system memory (RAM), then open using DirectX, which owns Microsoft, a set of APIs designed to improve the 3D effect on programs and games.
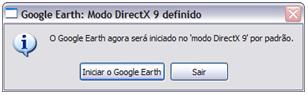
But what happens is that you probably do not know whether it is graphics card installed. When in doubt, leave what the program said. If you are still in doubt, open both ways and see which way gives the best performance.
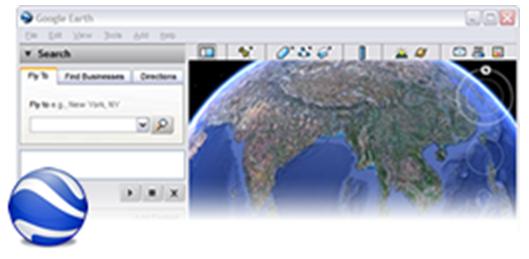
Program Interface
You’ve probably used Google Earth, or at least have seen someone using. The interface is quite simple, and direct commands.
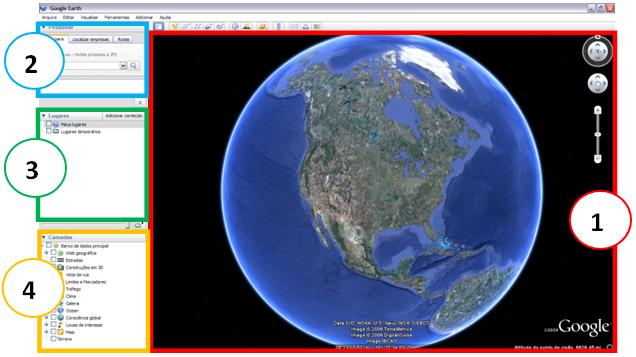
Quite quickly we have:
(1) Main area: where to visualize all data;
(2) Find a location where we can find information from a particular address;
(3) Places: that is where your data are to be superimposed on the main area,
(4) Layers: where other data are provided by the program that can also be viewed with your data in the main area.
Starting
We already installed it, and know the basic interfaces. But there are some adjustments that improve our experience of Google Earth. There are some tips that we can learn by using it, but we’ll enumerate some settings and procedures that we do, mostly to improve the performance of our work.
CTRL + F: Search
To search for an item in your data quickly, type CTRL + F (Control key and F key). This brings up a search box located between the areas of Places and Layers.

Type what you want (or at least part of it) in this box and press Enter. Use the UP and DOWN arrows to navigate the results. As you will entering the search string, it will go green or red, depending on whether it exists or not in their places.
Options
In any program, we should only make changes to default settings only if we know what we are doing, and how these changes will affect the program. The options in Google Earth fortunately are not as critical as to compromise the functionality, and can always click Restore Defaults, returning the initial settings.
So, here are some changes that can be made.
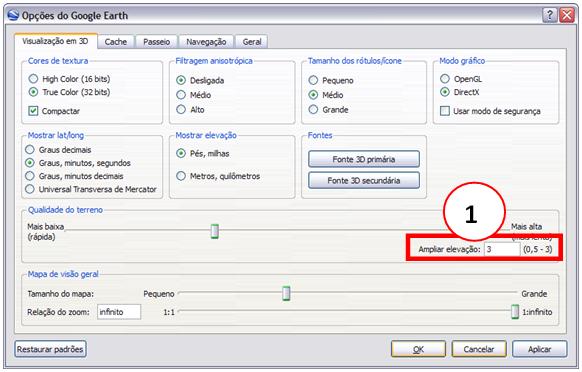
(1) Options - 3D View - Elevation Exaggeration: change to the maximum (3). This gives an outline for the hills, and in practice is closer to reality than the default value 1; Try both and let the values you find most convenient.
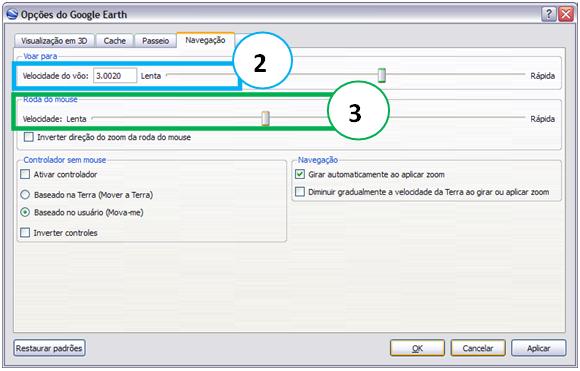
(2) Options - Navigation - Fly to: this parameter increases the speed when going from one place to another. The standard speed makes it appear that the program is more ‘heavy’ than it actually is. Increase the speed, and give some double click to see the difference.
(3) Options - Navigation - Mouse wheel: this parameter is more or less the same effect as above, except that related to the mouse wheel. Increase a little speed, also gives the impression that Google Earth is lighter and more agile.
Transparency and polygons, for what?
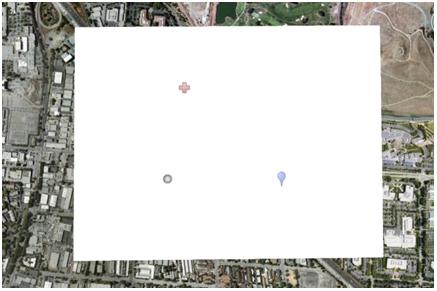
Note the image below …
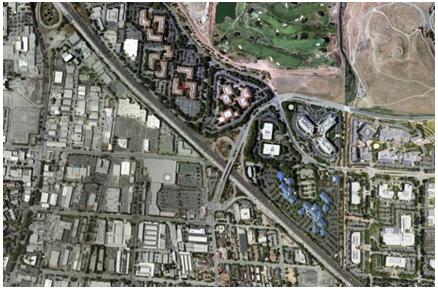
Are You able to identify anything added the User? At least quickly?
Well, sometimes, depending on the images that are below our data, it is difficult to be clear about them. The trick here is to draw a blank polygon, the area in question. The images are below, and our data will stand out.
Note again the same image, now with a polygon drawn.
Now you can see the data, can’t you?
But we lost the information of imagery. To resolve this problem, we use the artifice of transparency with the bar located between Places and Layers.
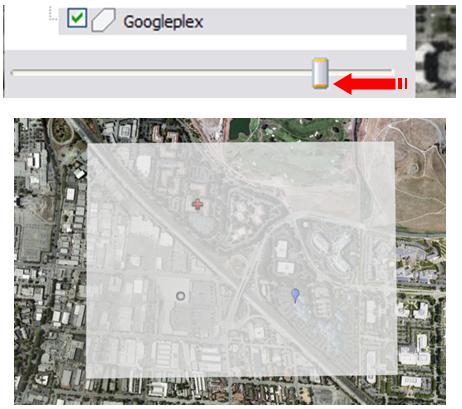
With the polygon selected, slide the transparency bar to the left, to a point to find enough to see both their data and image data.
Measure
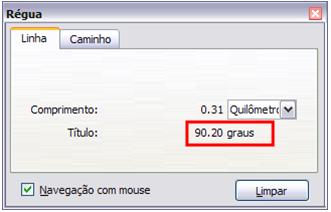
Ruler tool, accessed through the menu Tools - Ruler or the icon itself is very intuitive, allows you measure distance between points, and even calculate the total number of sections, using the Path tab.
But it has an interesting option, which sometimes do not notice. We can use the ruler tool to measure the angle.
Open in the same place that I want
Do You want the program to go to a place where when you open? It’s simple.
Select My Places in the area of Places. Browse the main area where you want to make as the initial location.
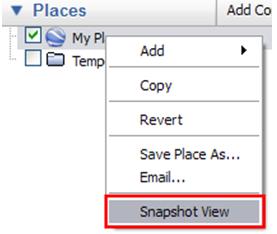
In the Edit menu, choose Snapshot view, and ready. The next time you open the program, it will go straight to your chosen location.
Conclusion
This was a brief summary of the software Google Earth, Google Inc… This is one of the GIS software will use a lot in our work.
telecomHall Community
![]() Telecom Made Easy!
Telecom Made Easy! ![]()
(Share to your friends ![]() )
)